

- 1 Apacheディレクティブとは?
- 2 検証環境
- 3 インストール方法
- 4 Apacheの動作確認
- 5 Redirect
- 6 Alias
- 7 NameVirtualHost
- 8 DirectoryIndex
- 9 AuthType
- 10 LoadModule
- Z 参考情報
1 Apacheディレクティブとは?
ディレクティブとは、Apacheに対するコマンドのことです。Apacheは起動すると、設定ファイル(httpd.conf)を読み込み、そこに記述されているディレクティブに従って動作します。ここでは、いくつかディレクティブの動作確認をしてみます。
2 検証環境
2.1 ネットワーク構成
サーバとクライアントの2台構成です。図中のens33はNICの名前です。
                          192.168.2.0/24
client(ens33) -------------------------------------(ens33) server
        .105                                       .100
3 インストール方法
サーバにhttpdパッケージをインストールします。
[root@server ~]# yum -y install httpd
Apacheの版数を確認します。
[root@server ~]# httpd -v
Server version: Apache/2.4.6 (CentOS)
Server built:   Mar 24 2022 14:57:57
httpdサービスを起動します。
[root@server ~]# systemctl start httpd
lsofコマンドを実行します。httpdプロセスは、TCPの80番ポートでListenしていることがわかります。なお、lsofコマンドの使いは、lsofコマンドの使い方 - hana_shinのLinux技術ブログを参照してください。
[root@server ~]# lsof -c httpd -a -i -a -nP
COMMAND  PID   USER   FD   TYPE DEVICE SIZE/OFF NODE NAME
httpd   1650   root    4u  IPv6  28811      0t0  TCP *:80 (LISTEN)
httpd   1651 apache    4u  IPv6  28811      0t0  TCP *:80 (LISTEN)
httpd   1652 apache    4u  IPv6  28811      0t0  TCP *:80 (LISTEN)
httpd   1653 apache    4u  IPv6  28811      0t0  TCP *:80 (LISTEN)
httpd   1654 apache    4u  IPv6  28811      0t0  TCP *:80 (LISTEN)
httpd   1655 apache    4u  IPv6  28811      0t0  TCP *:80 (LISTEN)
httpdプロセスがListenしている80番ポートを解放します。なお、firewall-cmdコマンドの使い方は、firewall-cmdの使い方 - hana_shinのLinux技術ブログを参照してください。
[root@server ~]# firewall-cmd --add-port=80/tcp
success
ポート番号の状態を確認します。80番ポートが解放されたことがわかります。
[root@server ~]# firewall-cmd --list-ports
80/tcp
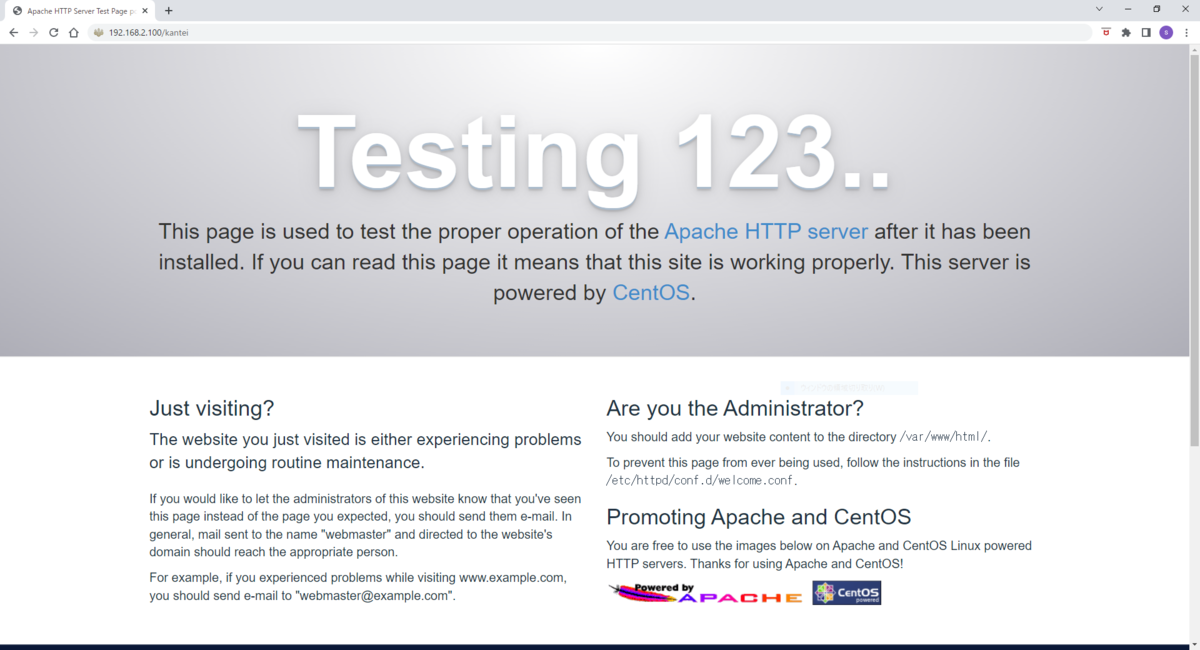
4 Apacheの動作確認
ブラウザからApacheにアクセスしてみます。本記事では、ブラウザからhttp://192.168.2.100/にアクセスします。

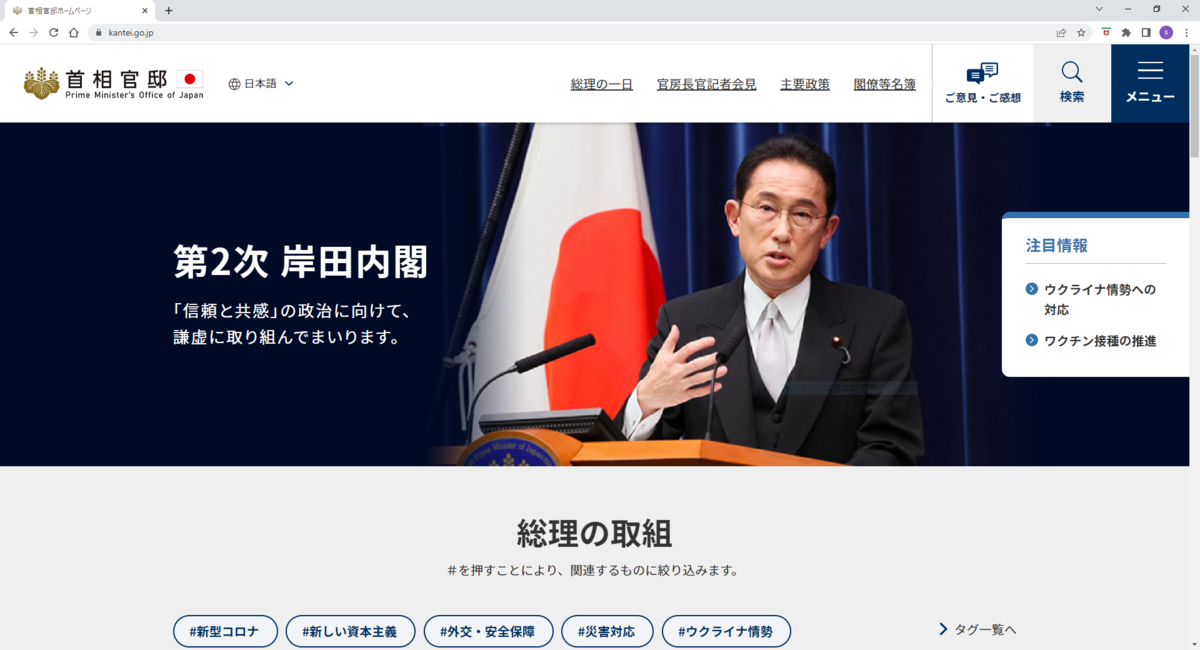
5 Redirect
リクエストを他のサーバに転送するディレクティブです。ここでは、自ホストの/kanteiにアクセスすると、首相官邸のHPにリダイレクトするようにRedirectを設定してみます。
テスト用のディレクトリを作成します。
[root@server ~]# mkdir /kantei
/etc/httpd/conf.d配下にtest.confという名前の定義ファイルを作成します。Redirectディレクティブを使って、/kanteiへのアクセスをhttps://www.kantei.go.jp/にリダイレクトしてみます。
[root@server ~]# vi /etc/httpd/conf.d/test.conf
[root@server ~]# cat /etc/httpd/conf.d/test.conf
Redirect /kantei https://www.kantei.go.jp/
httpdを再起動します。
[root@server ~]# systemctl restart httpd
ブラウザのアドレスバーに、http://192.168.2.100/kanteiと入力します。
/kanteiにアクセスすると、首相官邸のHPにリダイレクトされたことがわかります。
6 Alias
DocumentRootが示すディレクトリに存在しないファイルにアクセスするためのディレクティブです。DocumentRootのデフォルトは、/var/www/htmlです。ここでは、/usr/share/doc/へのアクセスを確認してみます。
[root@server ~]# vi /etc/httpd/conf.d/test.conf
[root@server ~]# cat /etc/httpd/conf.d/test.conf
alias /doc/ "/usr/share/doc/"

<Directory "/usr/share/doc">
  Require all granted
</Directory>
httpdサービスを再起動します。
[root@server ~]# systemctl restart httpd
/usr/share/doc/配下に、下記ファイル(grub.html)がありますので、下記ファイルにブラウザでアクセスしてみます。
[root@server ~]# ls -l /usr/share/doc/grub2-common-2.02/grub.html
-rw-r--r--. 1 root root 503246  7月 29  2020 /usr/share/doc/grub2-common-2.02/grub.html

7 NameVirtualHost
バーチャルホストとは、1台のホストで複数のWebサーバを提供する機能です。以下の2方式があります。
| 方式 | 概要 | 備考 | |
|---|---|---|---|
| IPベース | ホストに複数のIPアドレスを設定し、各IPアドレス毎にWebサーバを1つ立てる方式 | ||
| 名前ベース | 1つのIPアドレスに複数のWebサーバを立てる方式 | NameVirtualHostを使う |
ここでは、NameVirtualHostを使って、名前ベースのバーチャルホストを試してみます。
7.1 クライアント側の設定
DNSの準備をすると大変なので、かわりにhostsファイルで名前解決をします。
[root@client ~]# vi /etc/hosts
[root@client ~]# cat /etc/hosts
192.168.2.100 www.test1.com
192.168.2.100 www.test2.com
7.2 サーバ側の設定
各Webサーバ用に、DocumentRootで指定するディレクトリを作成します。
[root@server ~]# mkdir -p /var/www/test1/html
[root@server ~]# mkdir -p /var/www/test2/html
各Webサーバのindex.htmlファイルを作成します。
[root@server ~]# echo test1 > /var/www/test1/html/index.html
[root@server ~]# echo test2 > /var/www/test2/html/index.html
/etc/httpd/conf.d配下にtest.confという名前の定義ファイルを作成します。
[root@server ~]# vi /etc/httpd/conf.d/test.conf
[root@server ~]# cat /etc/httpd/conf.d/test.conf
NameVirtualHost 192.168.2.100
<VirtualHost 192.168.2.100>
  DocumentRoot /var/www/test1/html
  ServerName www.test1.com
</VirtualHost>

<VirtualHost 192.168.2.100>
  DocumentRoot /var/www/test2/html
  ServerName www.test2.com
</VirtualHost>
httpdを再起動します。
[root@server ~]# systemctl restart httpd
7.3 動作確認
クライアントから、それぞれのWebサーバにcurlでアクセスしてみます。各Webサーバのindex.htmlの中身が表示されていることがわかります。なお、curlコマンドの使い方は、「curlコマンドの使い方」を参照してください。
www.test1.comでアクセスすると、test1が表示されることがわかります。
[root@client ~]# curl http://www.test1.com/index.html
test1
www.test2.comでアクセスすると、test2が表示されることがわかります。
[root@client ~]# curl http://www.test2.com/index.html
test2
8 DirectoryIndex
Webクライアントからのリクエストがあった時、ファイル名を指定せずディレクトリだけ指定する時があります。ファイル名が省略された場合にどのファイルを返すのかを指定するディレクティブです。Webサーバは、DirectoryIndexで定義されたファイル名を左から右に向かって調べ、最初に見つけたファイル名をクライアントに返します。
8.1 事前準備
定義ファイルをバックアップします。
[root@server ~]# cp /etc/httpd/conf/httpd.conf /etc/httpd/conf/httpd.conf.org
index.htmlとindex.htmの2つのテスト用ファイルを作成します。
[root@server ~]# echo "AAAAA" > /var/www/html/index.html
[root@server ~]# echo "BBBBB" > /var/www/html/index.htm
8.2 動作確認(その1)
httpd.confファイルを修正します。修正内容は以下のとおりです。
[root@server ~]# vi /etc/httpd/conf/httpd.conf
[root@server ~]# diff -Nur /etc/httpd/conf/httpd.conf.org /etc/httpd/conf/httpd.conf
--- /etc/httpd/conf/httpd.conf.org      2022-05-02 22:50:25.676525036 +0900
+++ /etc/httpd/conf/httpd.conf  2022-05-02 22:51:32.933859763 +0900
@@ -162,7 +162,7 @@
 # is requested.
 #
 <IfModule dir_module>
-    DirectoryIndex index.html
+    DirectoryIndex index.html index.htm
 </IfModule>
httpdを再起動します。
[root@server ~]# systemctl restart httpd
ファイル名を指定せず、192.168.2.10にアクセスします。index.htmlの内容が表示されたことがわかります。
http://192.168.2.100/

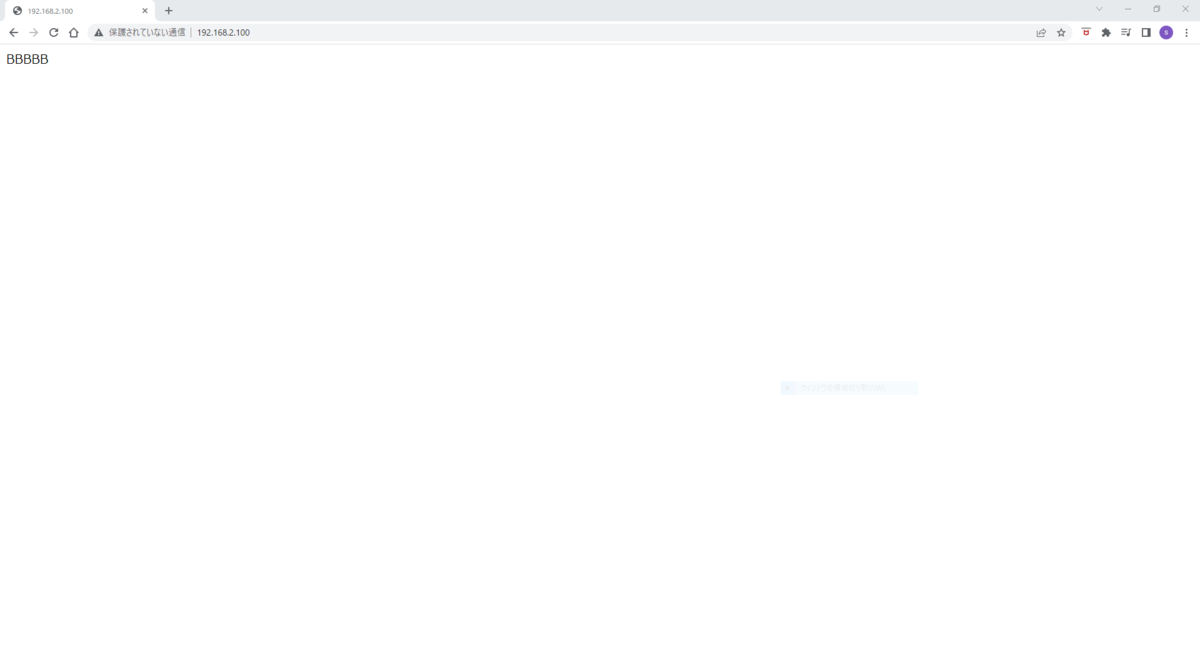
8.3 動作確認(その2)
DirectoryIndexで定義するファイル名の順序をindex.htm,index.htmlに変更してみます。
[root@server ~]# diff -Nur /etc/httpd/conf/httpd.conf.org /etc/httpd/conf/httpd.conf
--- /etc/httpd/conf/httpd.conf.org      2022-05-02 22:50:25.676525036 +0900
+++ /etc/httpd/conf/httpd.conf  2022-05-02 23:00:41.753986825 +0900
@@ -162,7 +162,7 @@
 # is requested.
 #
 <IfModule dir_module>
-    DirectoryIndex index.html
+    DirectoryIndex index.htm index.html
 </IfModule>
httpdを再起動します。
[root@server ~]# systemctl restart httpd
ファイル名を指定せず、192.168.2.10にアクセスします。index.htmの内容が表示されたことがわかります。
http://192.168.2.100/
9 AuthType
AuthTypeは認証の種類を指定するディレクティブです。指定できる認証として、Basic(基本認証)、Digest(ダイジェスト認証)があります。認証を行う場合、下記ディレクティブを使います。
| ディレクティブ | 意味 |
|---|---|
| AuthType | 認証の種類を指定。Basic(基本認証)、Digest(ダイジェスト認証)がある |
| AuthName | 認可領域の名前を指定 |
| AuthUserFile | htpasswdコマンドで作成したパスワードファイルを指定 |
| Require | 認証対象のユーザを指定 |
なお、Requireには次のものがあります。ここでは、Basic認証において、Require valid-userとRequire userの動作確認をしてみます。
| 種類 | 意味 |
|---|---|
| Require valid-user | 全てのユーザを認証の対象にする |
| Require user ユーザ名のリスト | ユーザ名のリストに指定したユーザだけを認証の対象にする |
| Require group グループ名 | 指定したグループだけを認証の対象にする |
9.1 事前準備
認証に成功した場合に表示する文字列をindex.htmlに作成します。
[root@server ~]# echo "Basic Authentication" > /var/www/html/index.html
パスワード(.htpasswd)を格納するディレクトリを作成します。なお、パスワードは、DocumentRoot配下に置かないことが推奨されています。
[root@server ~]# mkdir /var/www/passwd/
ユーザを作成します。
[root@server ~]# useradd user1
[root@server ~]# useradd user2
htpasswdコマンドを使って、下記アカウント(ユーザ/パスワード)を作成します。
・user1/pass1
・user2/pass2
user1のパスワードを作成します。なお、htpasswdコマンドの使い方は、htpasswdコマンドの使い方 - hana_shinのLinux技術ブログを参照してください。
[root@server ~]# htpasswd -c /var/www/passwd/.htpasswd user1
New password:
Re-type new password:
Adding password for user user1
user2のパスワードを作成します。
[root@server ~]# htpasswd /var/www/passwd/.htpasswd user2
New password:
Re-type new password:
Adding password for user user2
.htpasswdの中身を確認します。user1とuser2のパスワードが登録されていることがわかります。
[root@server ~]# cat /var/www/passwd/.htpasswd
user1:$apr1$26aDbucD$bJkUtOgEnn51J1dIuK3T9/
user2:$apr1$du3Jg/JX$7beI4hDd8P0lYLXy1x8uy1
9.2 Require valid-userの場合
.htpasswdファイル中の全ユーザを認証対象にするため、Require valid-userと定義します。
[root@server ~]# vi /etc/httpd/conf.d/test.conf
[root@server ~]# cat /etc/httpd/conf.d/test.conf
<Directory "/var/www/html">
  AuthType Basic
  AuthName "Basic Auth"
  AuthUserFile /var/www/passwd/.htpasswd
  Require valid-user
</Directory>
httpdを再起動します。
[root@server ~]# systemctl restart httpd
user1でアクセスします。その時のパスワードはpass1と指定します。期待した文字列(Basic Authentication)が表示されることがわかります。
[root@client ~]# curl -u user1:pass1 http://192.168.2.100/
Basic Authentication
user2でアクセスします。その時のパスワードはpass2と指定します。期待した文字列(Basic Authentication)が表示されることがわかります。
[root@client ~]# curl -u user2:pass2 http://192.168.2.100/
Basic Authentication
9.3 Require userの場合
.htpasswdファイル中のuser1だけを認証対象にするため、Require user user1と定義します。もし、user1とuser2を認証対象にする場合は、Require user user1 user2と定義します。
[root@server ~]# vi /etc/httpd/conf.d/test.conf
[root@server ~]# cat /etc/httpd/conf.d/test.conf
<Directory "/var/www/html">
  AuthType Basic
  AuthName "Basic Auth"
  AuthUserFile /var/www/passwd/.htpasswd
  Require user user1
</Directory>
[root@server ~]# systemctl restart httpd
user1は認証対象なので、Basic認証が成功します。
[root@client ~]# curl -u user1:pass1 http://192.168.2.100/
Basic Authentication
次にuser2でアクセスしてみます。user2は認証対象ではないので、Basic認証が失敗することがわかります。
[root@client ~]# curl -u user2:pass2 http://192.168.2.100/
<!DOCTYPE HTML PUBLIC "-//IETF//DTD HTML 2.0//EN">
<html><head>
<title>401 Unauthorized</title>
</head><body>
<h1>Unauthorized</h1>
<p>This server could not verify that you
are authorized to access the document
requested.  Either you supplied the wrong
credentials (e.g., bad password), or your
browser doesn't understand how to supply
the credentials required.</p>
</body></html>
10 LoadModule
httpd起動時、動的にロードするモジュールを指定するディレクティブです。書式は、次のとおりです。
LoadModule モジュール modules/ファイル名
モジュールは、下記ディレクトリ配下のファイルに定義されています。モジュールをロードしたい場合、LoadModuleの行頭の#を削除してhttpdを再起動することで、モジュールがロードできます。
[root@server ~]# ls -l /etc/httpd/conf.modules.d/
合計 28
-rw-r--r--. 1 root root 3739  1月 14 02:38 00-base.conf
-rw-r--r--. 1 root root  139  1月  8 01:08 00-dav.conf
-rw-r--r--. 1 root root   41  1月  8 01:08 00-lua.conf
-rw-r--r--. 1 root root  742  1月 14 02:38 00-mpm.conf
-rw-r--r--. 1 root root  957  1月 14 02:38 00-proxy.conf
-rw-r--r--. 1 root root   88  1月  8 01:08 00-systemd.conf
-rw-r--r--. 1 root root  451  1月  8 01:08 01-cgi.conf
ファイルは、/usr/lib64/httpd/modulesディレクトリ配下に定義されています。
[root@server ~]# ls -l /usr/lib64/httpd/modules/
合計 2468
-rwxr-xr-x. 1 root root  11232  3月 24 23:58 mod_access_compat.so
-rwxr-xr-x. 1 root root  11176  3月 24 23:58 mod_actions.so
-rwxr-xr-x. 1 root root  15376  3月 24 23:58 mod_alias.so
-snip-
たとえば、Basic認証で使うモジュールは、以下のように定義されています。モジュールはauth_basic_module、ファイル名はmod_auth_basic.soになります。
LoadModule auth_basic_module modules/mod_auth_basic.so
なお、ロードされているモジュールは、以下のようにして確認することができます。詳細は、httpdコマンドの使い方を参照ください。
[root@server ~]# httpd -M
Loaded Modules:
-snip-
 auth_basic_module (shared)
 auth_digest_module (shared)
 authn_anon_module (shared)
 authn_core_module (shared)
-snip-
Z 参考情報
私が業務や記事執筆で参考にした書籍を以下のページに記載します。
Linux技術のスキルアップをしよう! - hana_shinのLinux技術ブログ